Synchronizer
Synchronize the components between the stages for seamless experience.
Overview
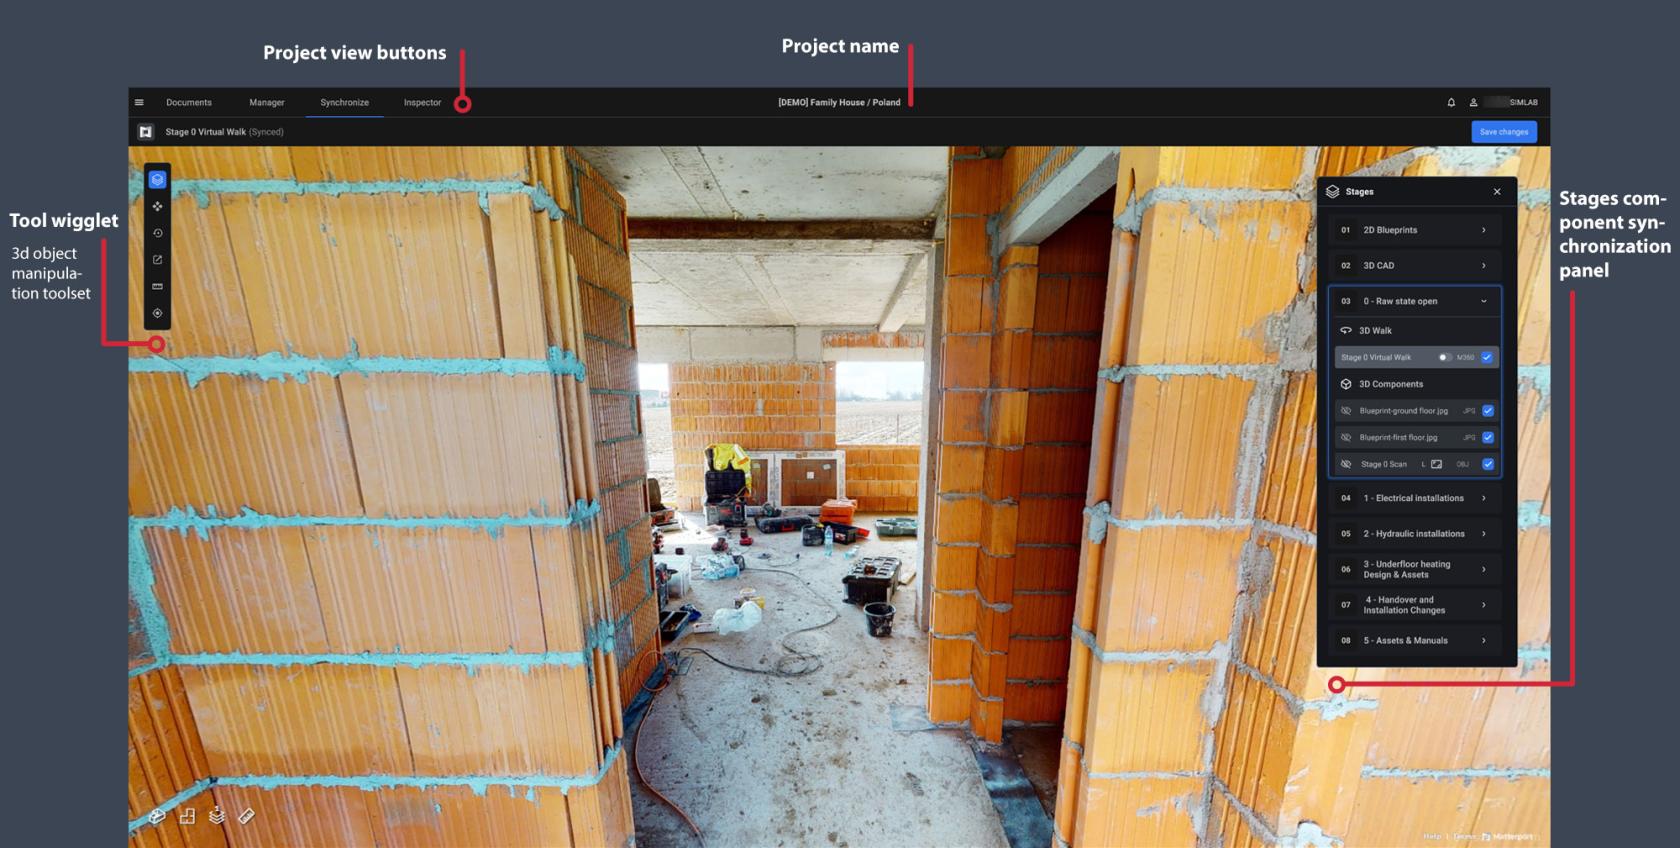
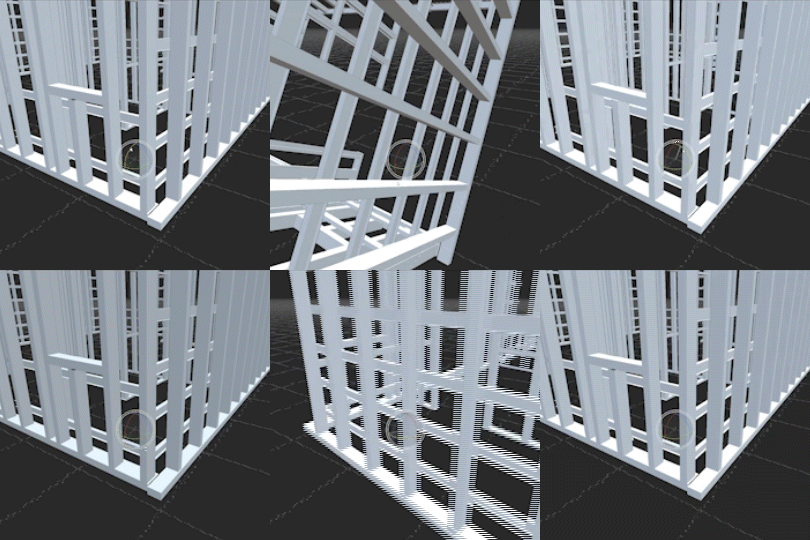
Once components are added to the stages, they are positioned by default within the 3D environment. However, since different companies use varying 3D software and construction standards, the files may not automatically align with each other.
To resolve this, the synchronizer panel allows you to adjust and properly position the components within the stages, ensuring everything aligns as intended.
It is necessary to synchronize stages to be able to use the viewer module within the project
To be able to use synchronizer you must have appropriate editor permissions within the project
See Roles page to learn more
Synchronization
Full suite of tools required to setup multi-stage seamless virtual experience
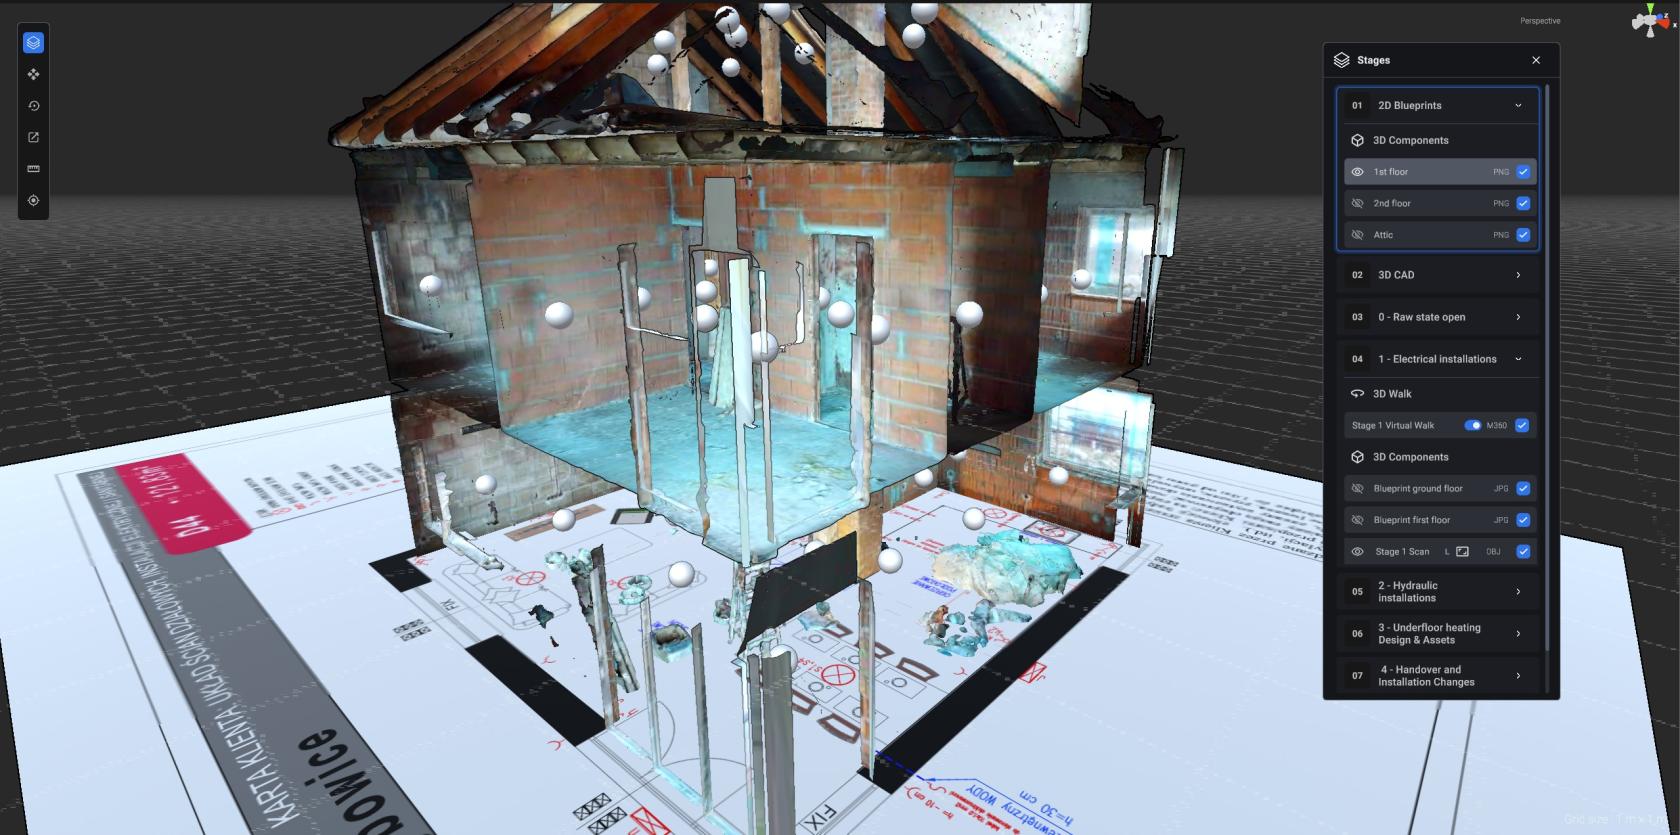
Process of synchronization consists of adjusting components within 3D space, then setting them as synchronized.
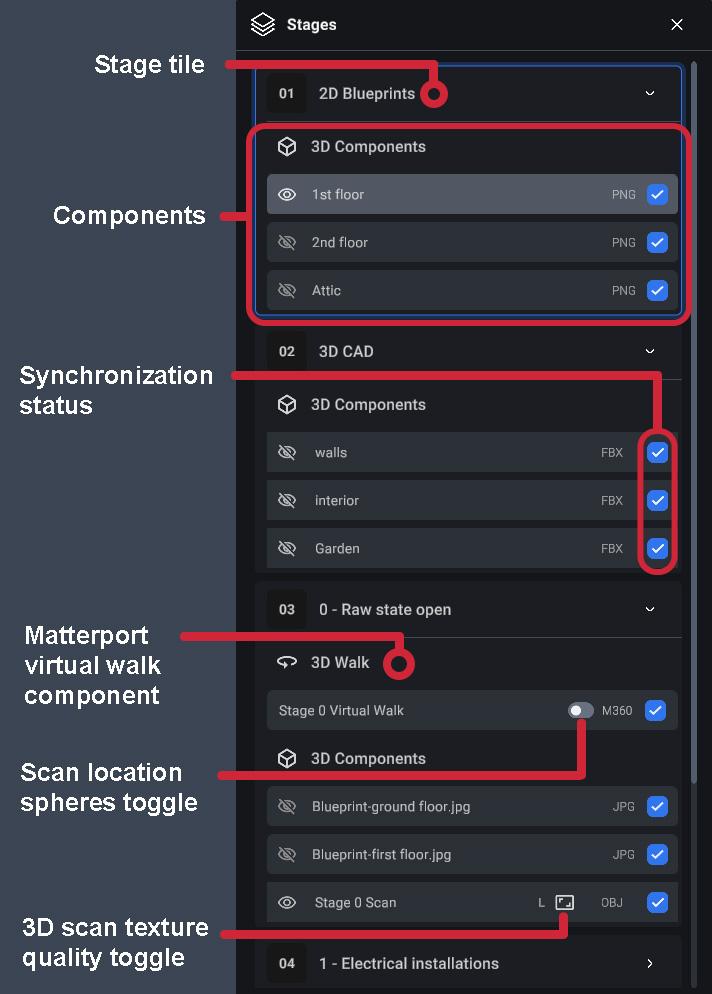
Stages windowThe main window of the synchronizer viewport. It displays all the stages with their components, manages the visibility of components and marks them as synchronized.
To change the synchronization state of the component, click the square check toggle of the component.
Toggle the visibility of various components between the stages, change the quality of the scan textures to save performance and manage the files better. |
|
3D object manipulation tools
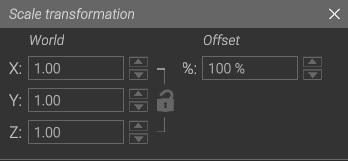
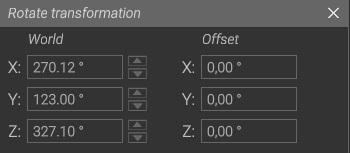
Tools are located in the floating icon toolbar that, on default, it is in the top left corner.
|
|
|
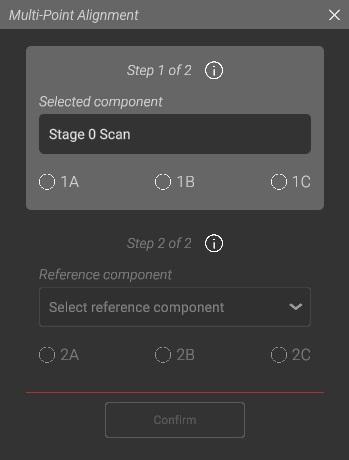
Multi-Point Alignment Tool
A tool for automatic component alignment.
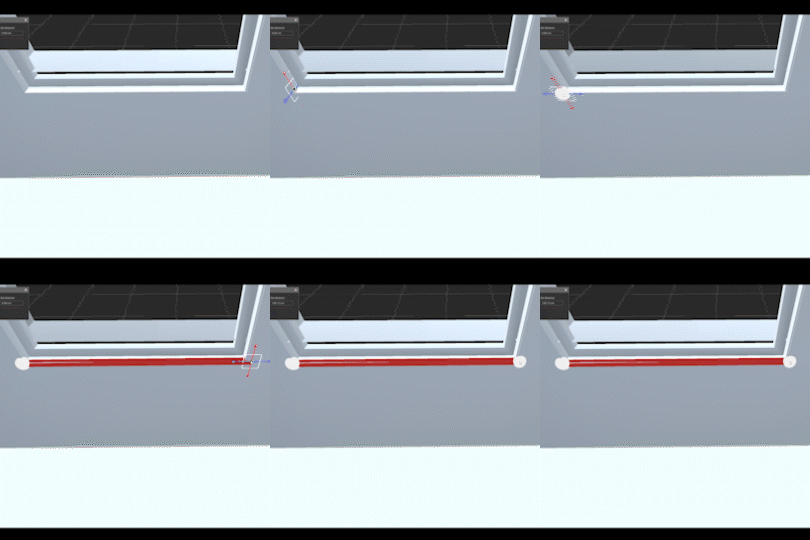
Place three reference points around the property with the A, B, C markers.
You can re-adjust the marker positions after placing them, by clicking them again
Once all three markers have been placed, select a reference component (only synchronized components can be chosen) from the drop-down menu. Proceed with placing the second set of the A, B, C markers in corresponding locations selected in the first step. Again, the markers can be re-adjusted later. While setting the markers from the second step, you will be assisted by a thumbnail preview of the first step markers to help you find the proper locations. After everything is set up, you can proceed to confirm the operation for the program to align the components.
Using the Alignment tool and confirming DOES NOT synchronize the component automatically. You still need to set the component as synchronized in the Stages Window

