Inspector
The main project handling and communication feature, core part of the STAGES
Overview
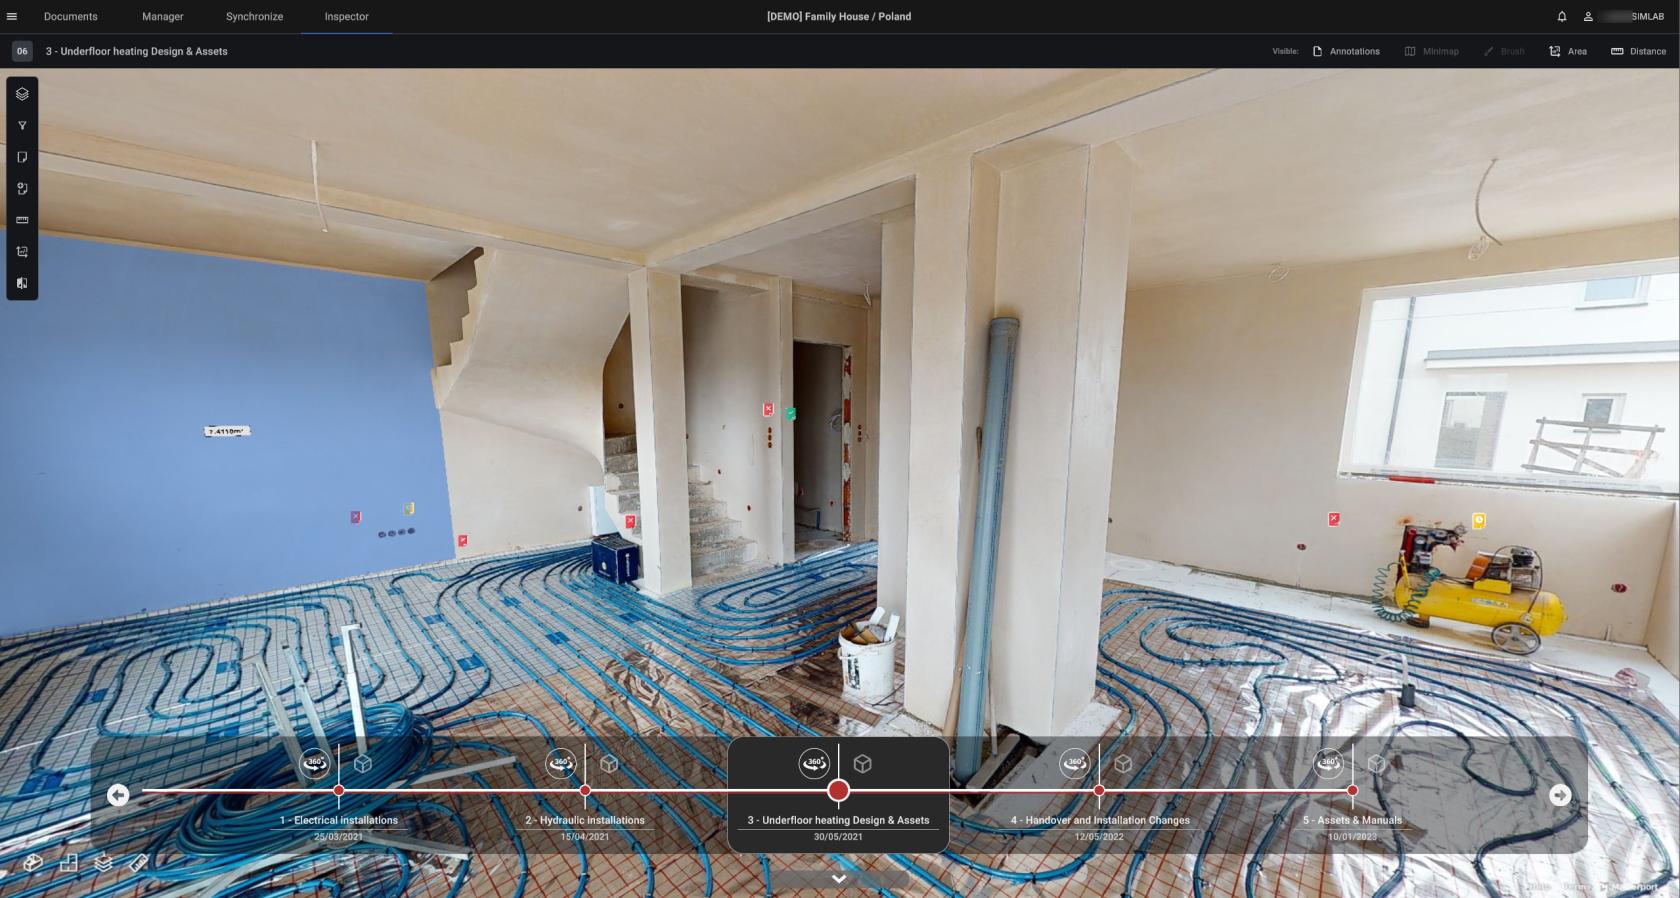
After synchronizing the components, you can interact with them in this 3D virtual environment, using the provided management and communication tools described in this page.
Display toggles

"Minimap" opens a floating window of a top-down view with a central marker displaying your current position within space
Free-hand Brush drawings are only available in the 3D view and not in Matterport Virtual Tour view
Side toolbar
On the side left column are located icons of various tools for your disposal,
these are, respectively:

- Stages Window
- Annotations Filters
- Annotations List
- Add Note
- Distance Measurement
- Area Measurement
- Compare View
Annotations
The Annotations communication feature, introduced in Manager view.
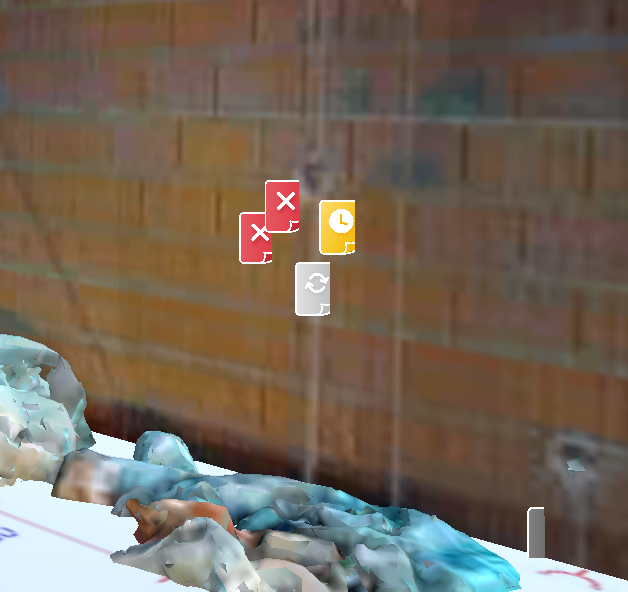
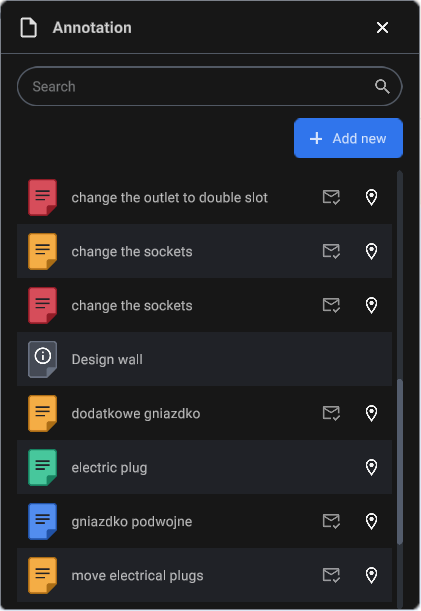
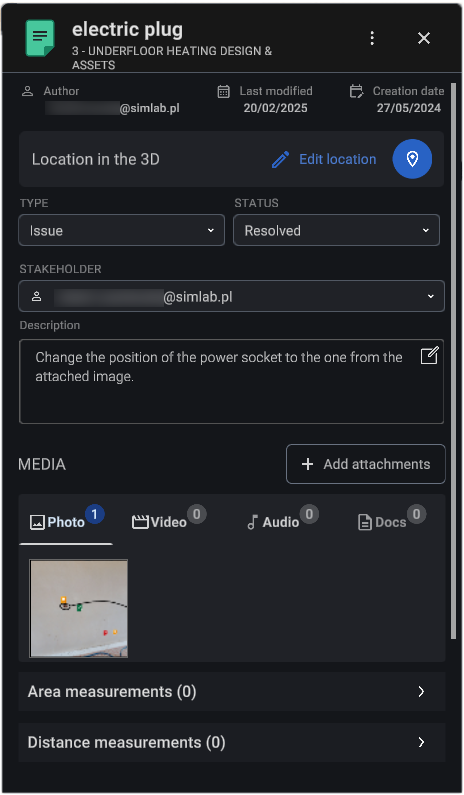
Selecting a note from the Notes list will open an Annotation editing window, the same as the one from Manager view in addition to expanding the left toolbar to include quick access note-related options.
Now that we are in the Virtual Environment, we can pin the notes to specific locations on 3D surfaces.
To place the (note) marker, open the note ![]() more options and select "Place marker". This will open a small, locked window where you will be able to place the marker on the current view. If the marker is already placed, the "+" will be replaced with a recycle icon to change the location.
more options and select "Place marker". This will open a small, locked window where you will be able to place the marker on the current view. If the marker is already placed, the "+" will be replaced with a recycle icon to change the location.
To browse through every external file added to notes throughout the project, see Documents page to learn about File Browser
Brush
With note selected and in ![]() 3D View, you can access the brush
3D View, you can access the brush 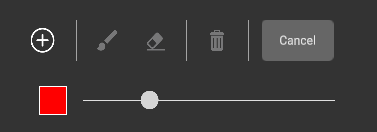 feature of the Note. Clicking the "+ Add attachments" from the Note panel and then "Use the 3D Brush" option will open a locked window in the middle bottom part of the viewport. From there, to start drawing on the surfaces press the "+".
By default you will start in brush mode ![]() . To select the width of your stroke use the adjustment handle. To change the stroke color press the color square located left to it (red by default).
. To select the width of your stroke use the adjustment handle. To change the stroke color press the color square located left to it (red by default).
Use eraser ![]() to get rid of individual strokes or delete the drawing altogether by clicking the bin icon.
to get rid of individual strokes or delete the drawing altogether by clicking the bin icon.
Measurement Tools
Clicking either the Area Measurement ![]() button or Distance Measurement
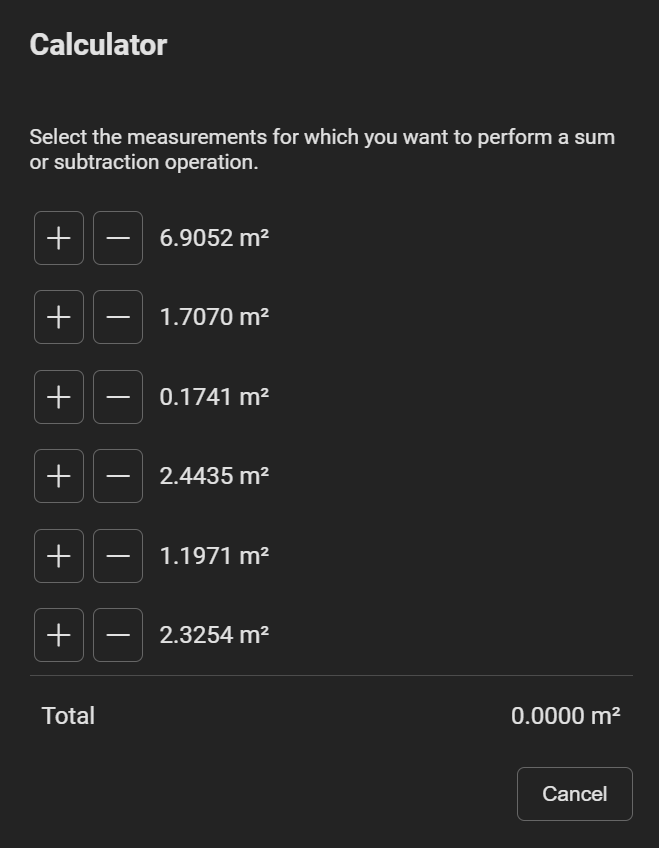
button or Distance Measurement ![]() button, reveals the tool specific window for that tool. Here we can manage all the measurements on the stage, sum up the areas and group them.
button, reveals the tool specific window for that tool. Here we can manage all the measurements on the stage, sum up the areas and group them.
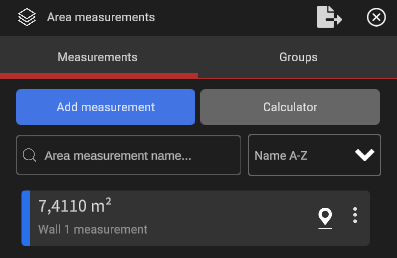
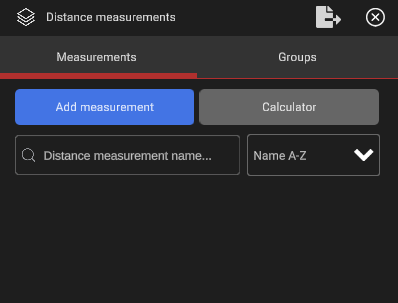
To exit the window, we can either click again the same Measurement button or press the 
in the top right corner of the window.
To create a Measurement, click the Add measurement button.
Opened side panels will collapse and a new toolbar will appear on the central bottom part of the viewport
|
Area
|
Distance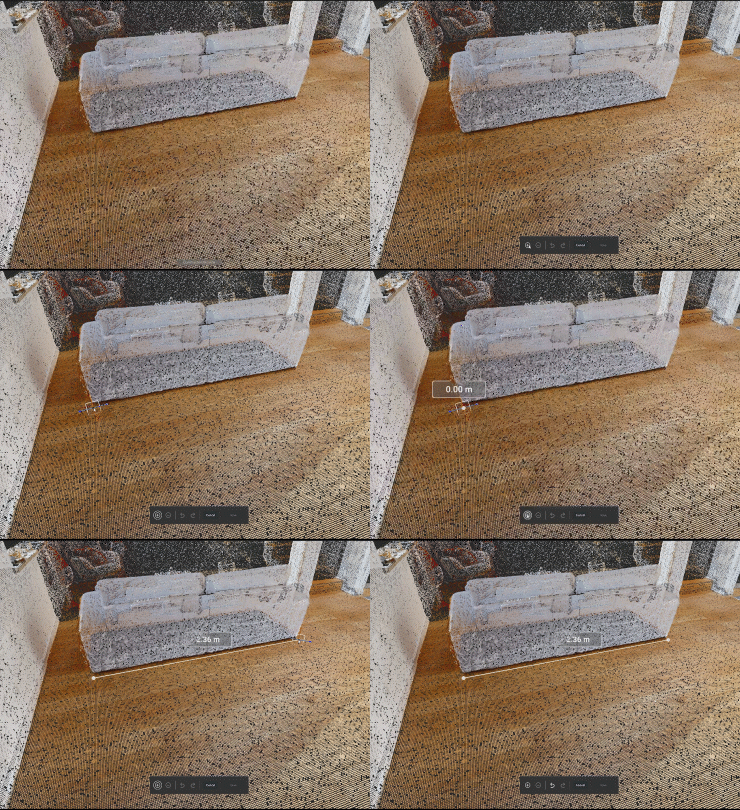 |
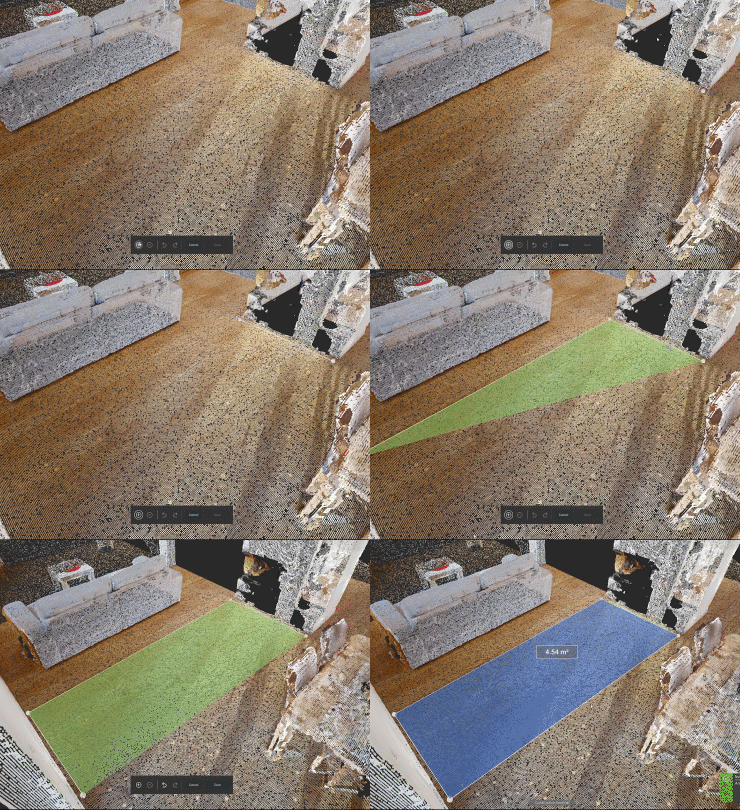
From here on now, you can add points in the 3D space. Click the "plus" icon, your cursor will change to a blue dot, indicating you are ready to place the first point of the measurement. Left clicking anywhere in the 3D viewport will pin the point on the appropriate plane in the virtual environment. Repeat the process as many times as necessary. If you placed the measurement point in the wrong place, you can use the arrows on the Measurement toolbar, to undo/redo the last move. When you're done with your desired surface measurement, proceed with Save and Exit, to keep your measurement or press Cancel instead, to exit the Area Measurement tool.

| After the Measurement is created, it will be visible in the window panel together with additional actions available under the More info |
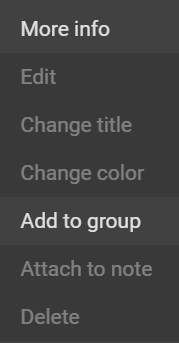 Here you can:
- Edit the area
- Adjust the tile look
- Add the measurement to an already existing Group
- Attach it to a note
- Delete it
Measurement Groups
You can group multiple measurements to make easy-to-access multi-surface area sums. An example being wall area of a room, or windows area of a floor.
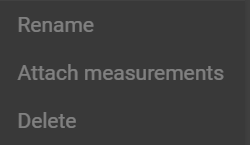
More options ![]() of the group lets us rename it, add a measurement or delete it.
of the group lets us rename it, add a measurement or delete it.
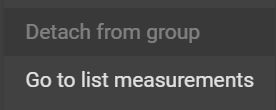
More options ![]() of the measurement gives you options to detach it from the group or to open it in the Measurements Tab.
of the measurement gives you options to detach it from the group or to open it in the Measurements Tab.
Calculator
|
|
|
Timeline
Easy way to move between stages and switch between view environments
Use the visual timeline to move around stages and switch between Matterport Virtual Tour view and 3D Environment view easily!
Compare View
Side-by-side perspective for contrasting as-built Matterport scans, providing a realistic representation, alongside the originally designed BIM data.
Compare View lets you launch two linked instances of virtual walks. Selecting the different stages between the views lets you inspect the differences between the stages on the fly. Because both views are linked together, they will automatically navigate and rotate the view to be the same as the currently active view you are using to navigate through the 3D environment.

