Setting up the project
Creating a project file, setting up stages and uploading components.
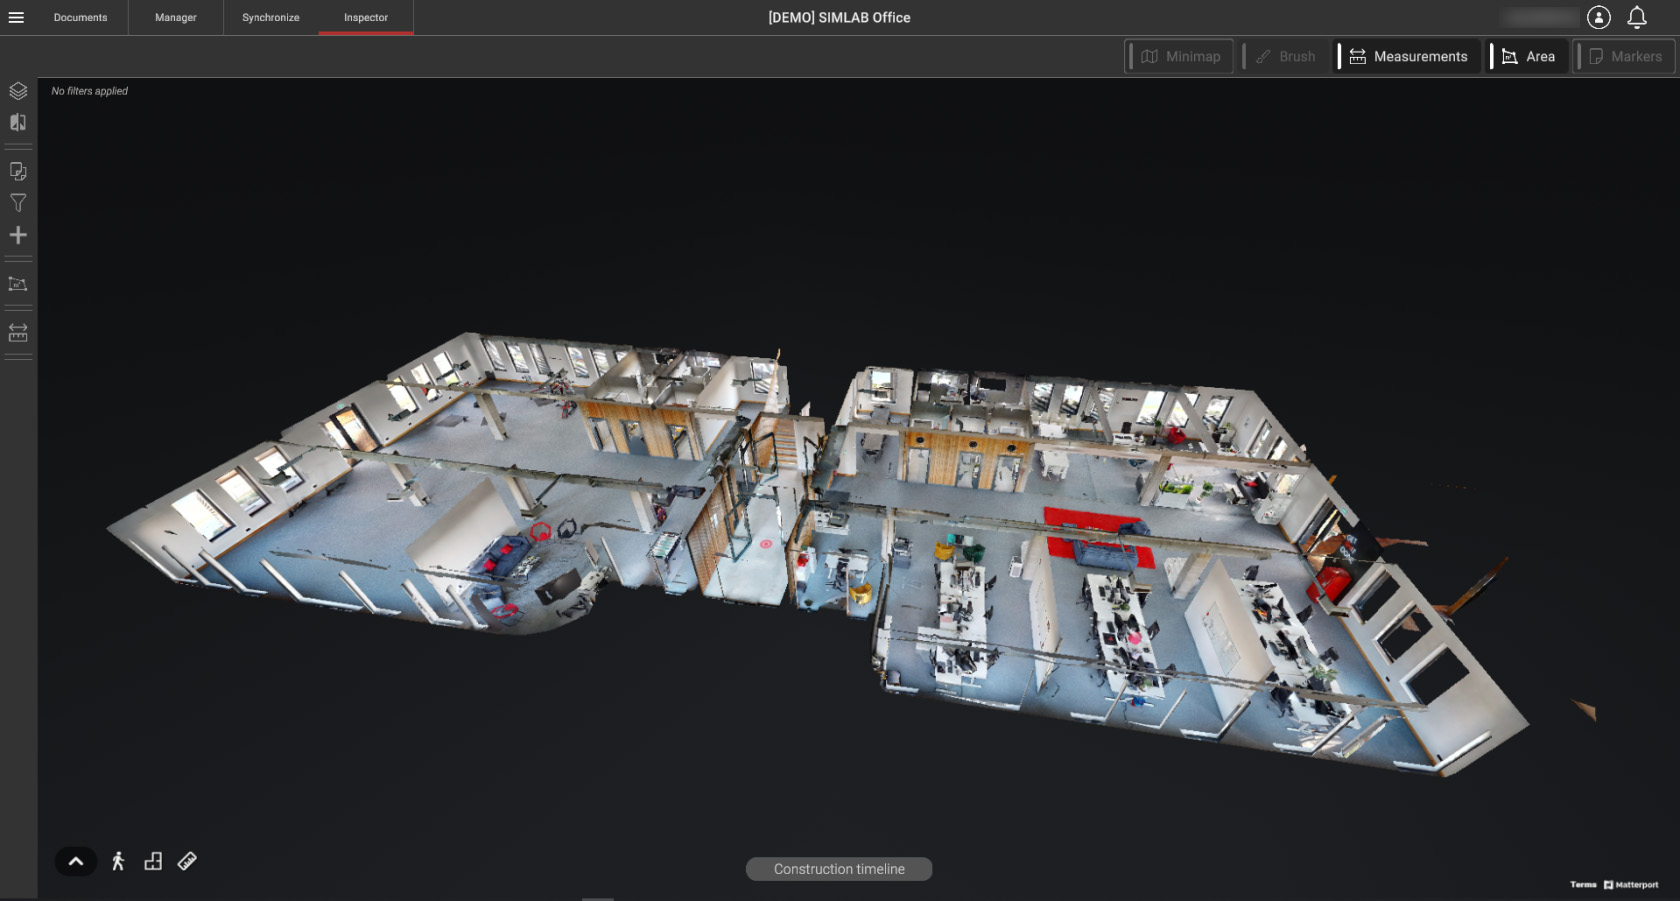
Introduction
Hello! The purpose of this DEMO Tutorial is to guide you through the creation of the simple project with the provided materials.
This tutorial assumes you already have a SIMLAB Cloud account go here to sign up
You do not need a Matterport account to complete this tutorial. All the provided Matterport links are public
Acquiring Provided Materials
For this tutorial you will be provided with :
- 3 Matterport Virtual Tour Public Links
- 3 Matterport 3D Scans
- 1 Floor plan Image
- 5 3D Models
The files are also located in the Attachments section of the Documentation, located on the Left Sidebar of the page
Download the provided files to an easily accessible folder, as they will be used throughout this tutorial
Additionally here's a Download Page link for Stages Desktop app.
Project setup
Projects within Stages follow defined Project structure
Organization
Before creating a project, first we need to create an organization in which the project will be a part of.
If you already are a member of an Organization, then you can skip this part and go to the next step
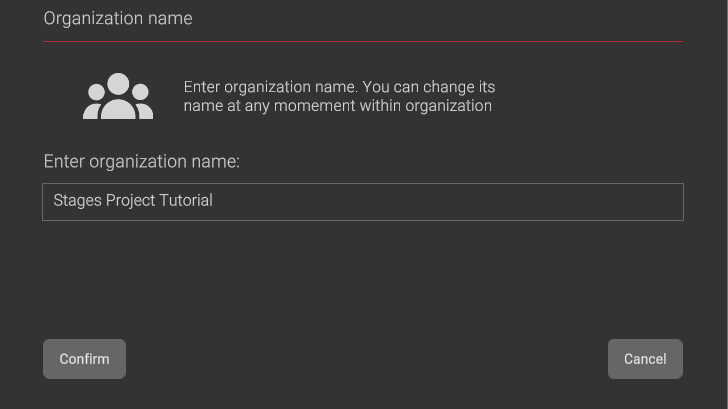
Enter the Organizations view through the side menu in Project Browser View. Use the "+" button to create a new organization and assign it a name. For the sake of this tutorial we will be using a generic name as seen on the screenshot below. You can use any name you would like.
Return to the project browser view using the side menu.
Having created an organization, now we can proceed with project creation
If you would like to customize your organization, see the Organizations chapter in the App overview to learn more about different panels and functions within organizations
Project
In the project browser view, press the ![]() button. You will see the following window:
button. You will see the following window:
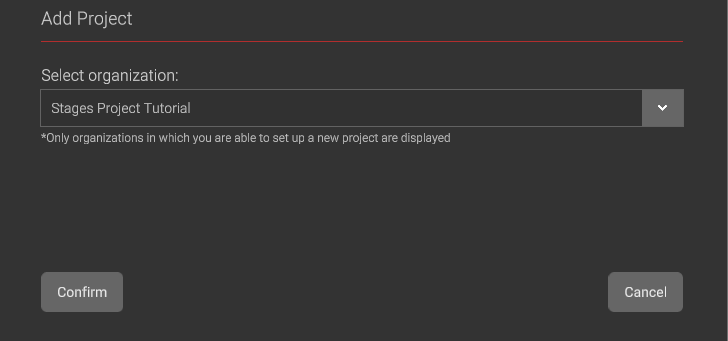
Select applicable organization, then press "Confirm" to proceed.
Project info window will appear where you will be asked to create a Project name.
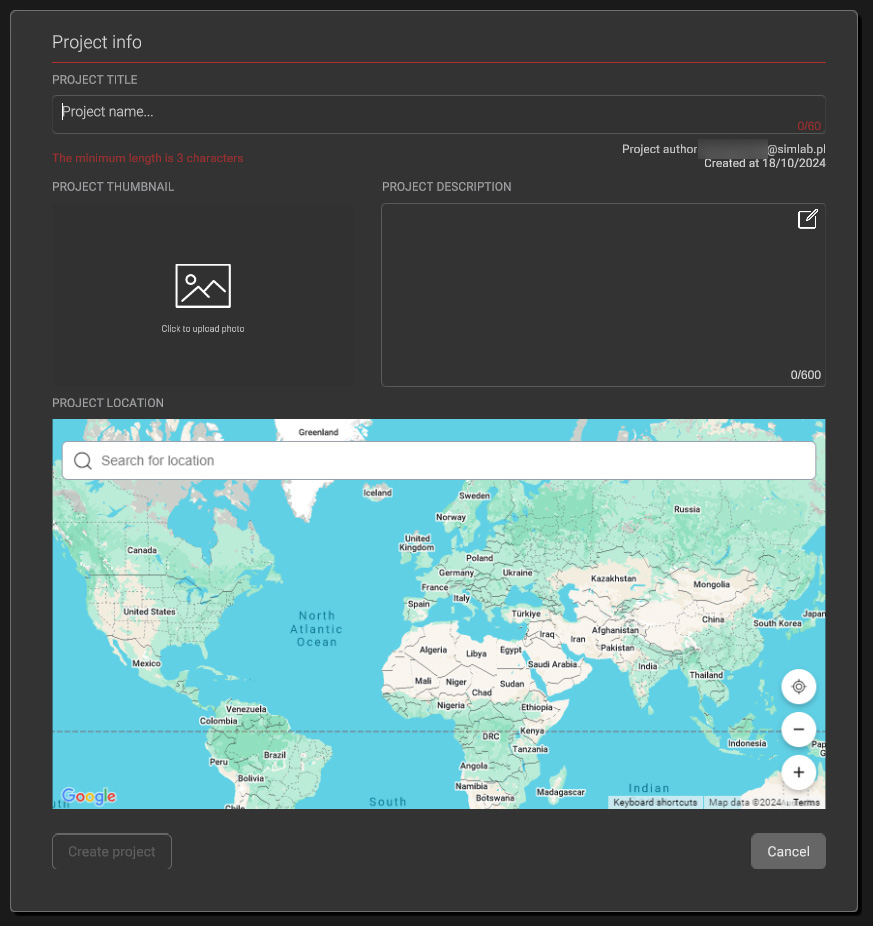
- Press the input field and name the project: "Simlab Office Tutorial".
Additionally we will add a project description. - Press the Edit
 icon in the PROJECT DESCRIPTION text field, then write: "Stages Self-Training demo project."
 - Press "Enter" on your keyboard to apply changes.
Optionally, you can add a thumbnail and set location as you see fit. This step is not necessary for this tutorial
Having followed the steps, you should end up with similar end result:
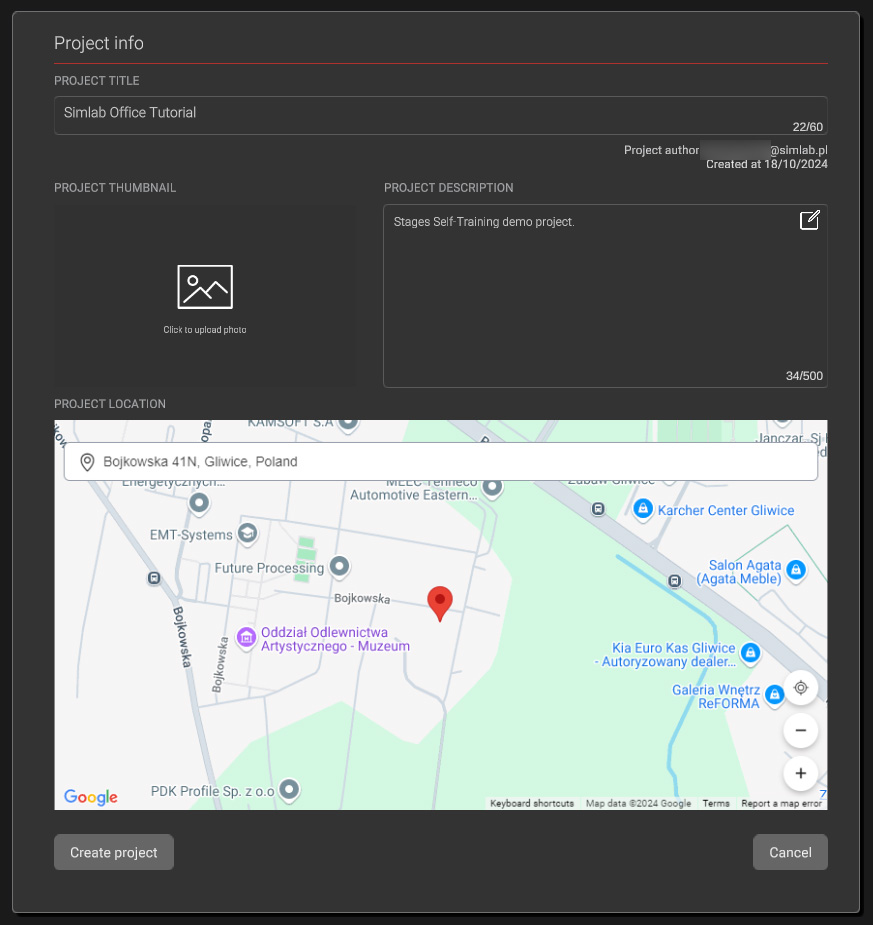
When you are done filling in the information, finalize by pressing "Create project"
Your new project tile will appear in the Project Browser.

Press the project tile to proceed to the next step or complete the optional step below.
Documents (optional)
![]()
Open the Documents tab and pre-upload all the provided files to the project:
Your Documents list should be populated now:
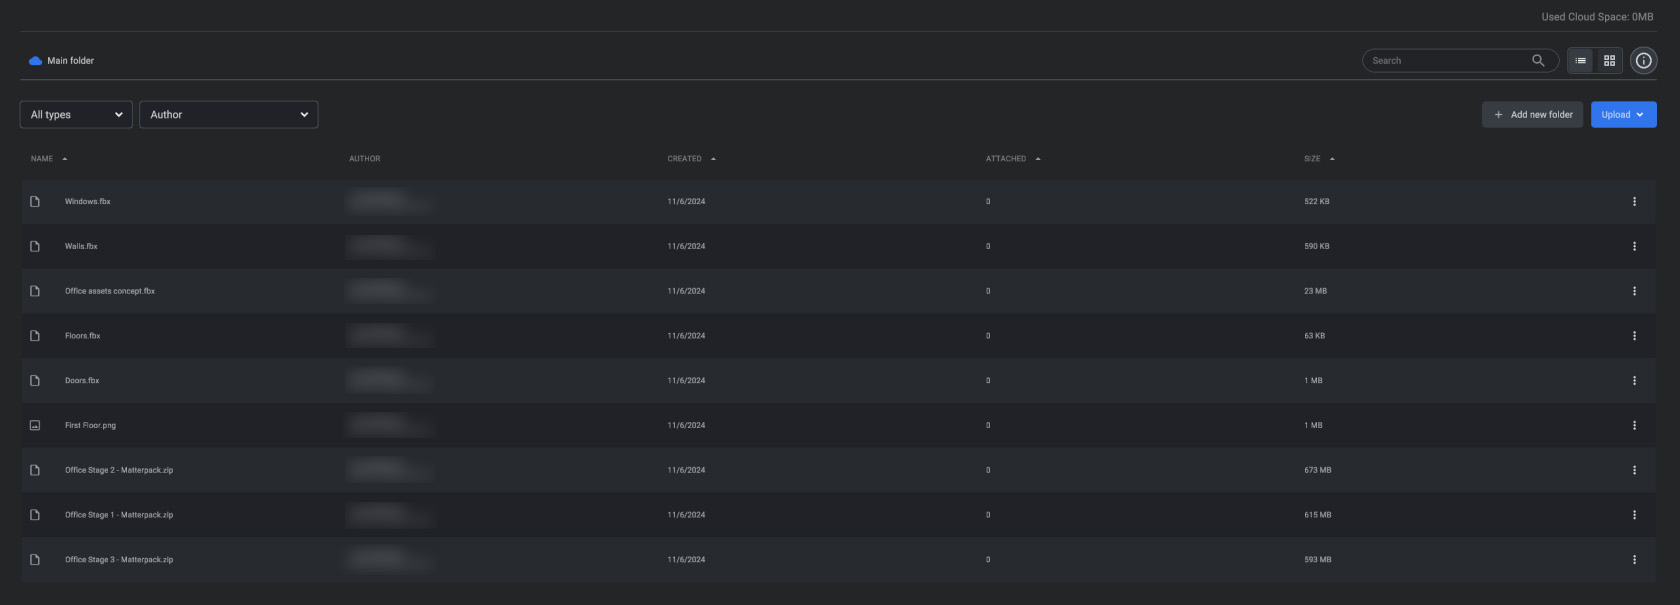
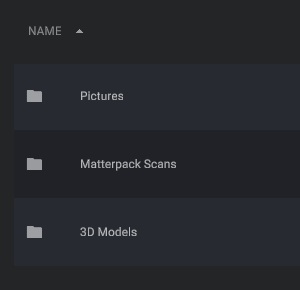
A good file handling habit is to sort the files. Try creating a few folders and move the files to them.
Here's an example of files sorted into folders:
Return to the Manager view.
Stage 1
|
Throughout this tutorial, feel free to use the information from the Project chapter The following chapters mainly go about Manager page section of the chapter.
The newly created project is empty and we need to first populate it with Stages. Press the "+ Add Stage" button, which will reveal stage-creation window. |
 |
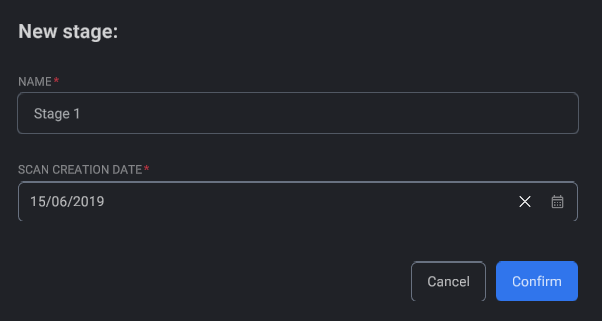
Set the stage name to "Stage 1" and Stage time to June 15th 2019 then confirm.
Set stage Description (optional)
Select the Stage 1 Tile from the STAGE LIST to reveal the Stage information

Click the Edit icon in the top right corner of the STAGE DESCRIPTION text field and write a concise description for the stage, so it informs other users/viewers, what the scene contains.

Press "Enter" or "Left click" outside of the text field to finish editing.
Adding a Scan Component
|
Uploading a Matterport Virtual Tour and Matterpack scan
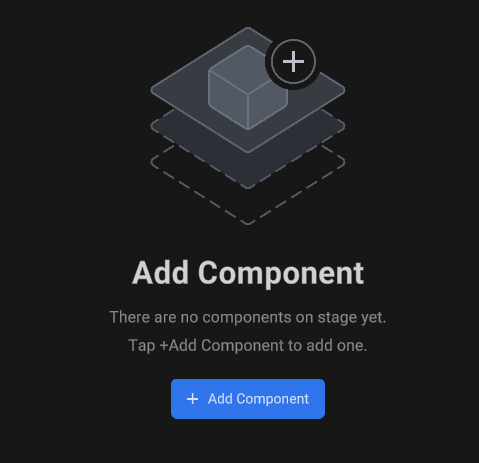
The newly created stage has no components. The main components for stages are Matterport Virtual Tours together with Matterpack scans (as they work together in a tandem.)
Press the "+ Add Component" button, then you can select either "From my computer" or "From Stages documents" (if you have uploaded files to the project documents) option from the dropdown menu.
Select "From my computer" to proceed to the next step |
 |
Public link
Adding Matterport Virtual Tour
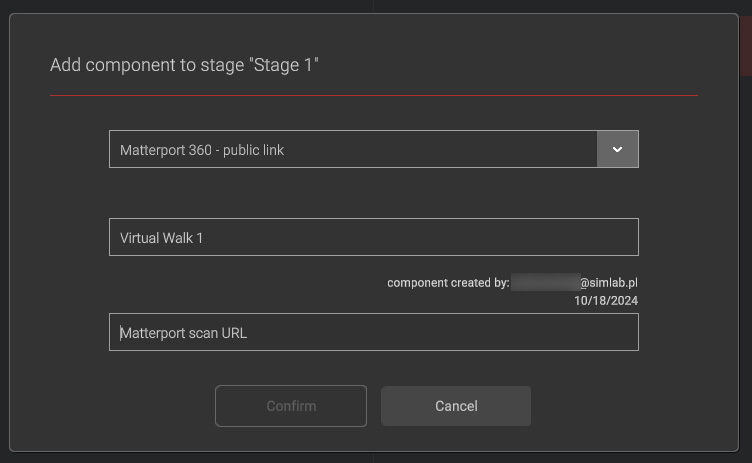
Adding a Matterport 360 Virtual Tour requires a Matterport 360 Link. For this tutorial you've been provided with public links.
When adding a Matterport 360 component, you need to choose the "From my computer" option.
- Select Matterport 360 - public link from the first dropdown menu.
- Name the component "Virtual Walk 1" in the Component name field.
- Paste the "Matterport 360 #1" Matterport Virtual Tour Public Link from the Attachments section, provided to you, into the Matterport scan URL field.
- After filling out the necessary fields, press Confirm.
3D Scan
Adding Matterpack 3D Scan
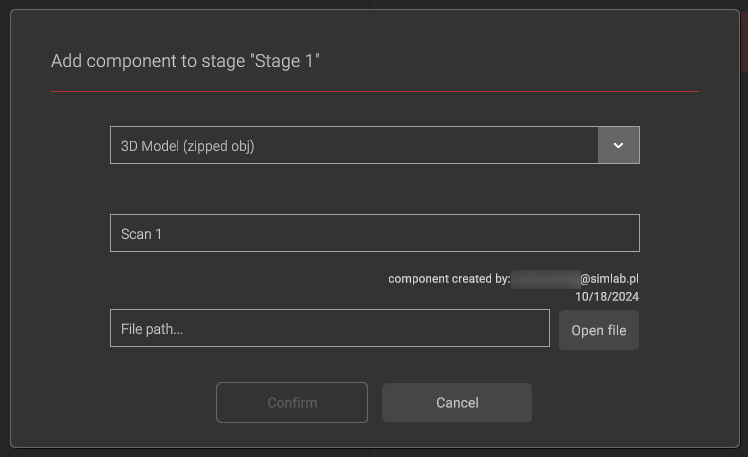
Having added a Matterport 360 Virtual Tour public link to the stage, now we will be adding a 3D scan of the same space, so we will be able to switch between them in the inspector view.
If you completed the Documents optional step, choose "From Stages documents" option and select the file from there instead
- Click the add component icon and choose "From my computer" option.
- Select 3D model (zipped obj) from the dropdown menu.
- Name the component "Scan 1" in the Component name field.
- Navigate to the "Office Stage 1 - Matterpack#1.zip" file you have downloaded from the Attachments section, provided to you through the Matterpack #1 link, and select it.
- After filling out the necessary fields, press Confirm.
At this time, please do not be concerned if the models are not perfectly aligned within the space. This is expected, and we will address it in the upcoming “Synchronization” section of the tutorial
Matterpack files tend to be larger in size and will take considerable time uploading
Stage 2
Preparing the second stage
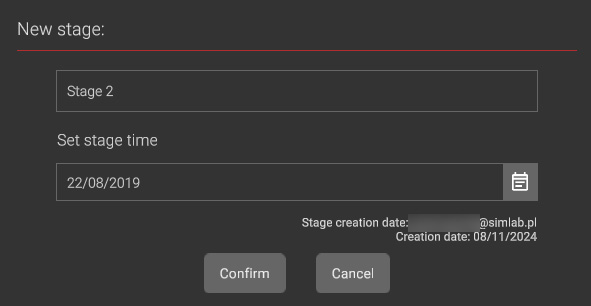
- Set the stage name to "Stage 2" and Stage time to 22/08/2019 then confirm.
- Create Matterport360 component named "Virtual Walk 2" with the "Matterport 360 #2" Attachments public link.
- Create 3D model (zipped obj) component named "Scan 2" with the "Office Stage 2 - Matterpack#2.zip" from
Matterpack #2 link.
By now you should have 2 stages with 2 components each and your viewport looking similar to this:
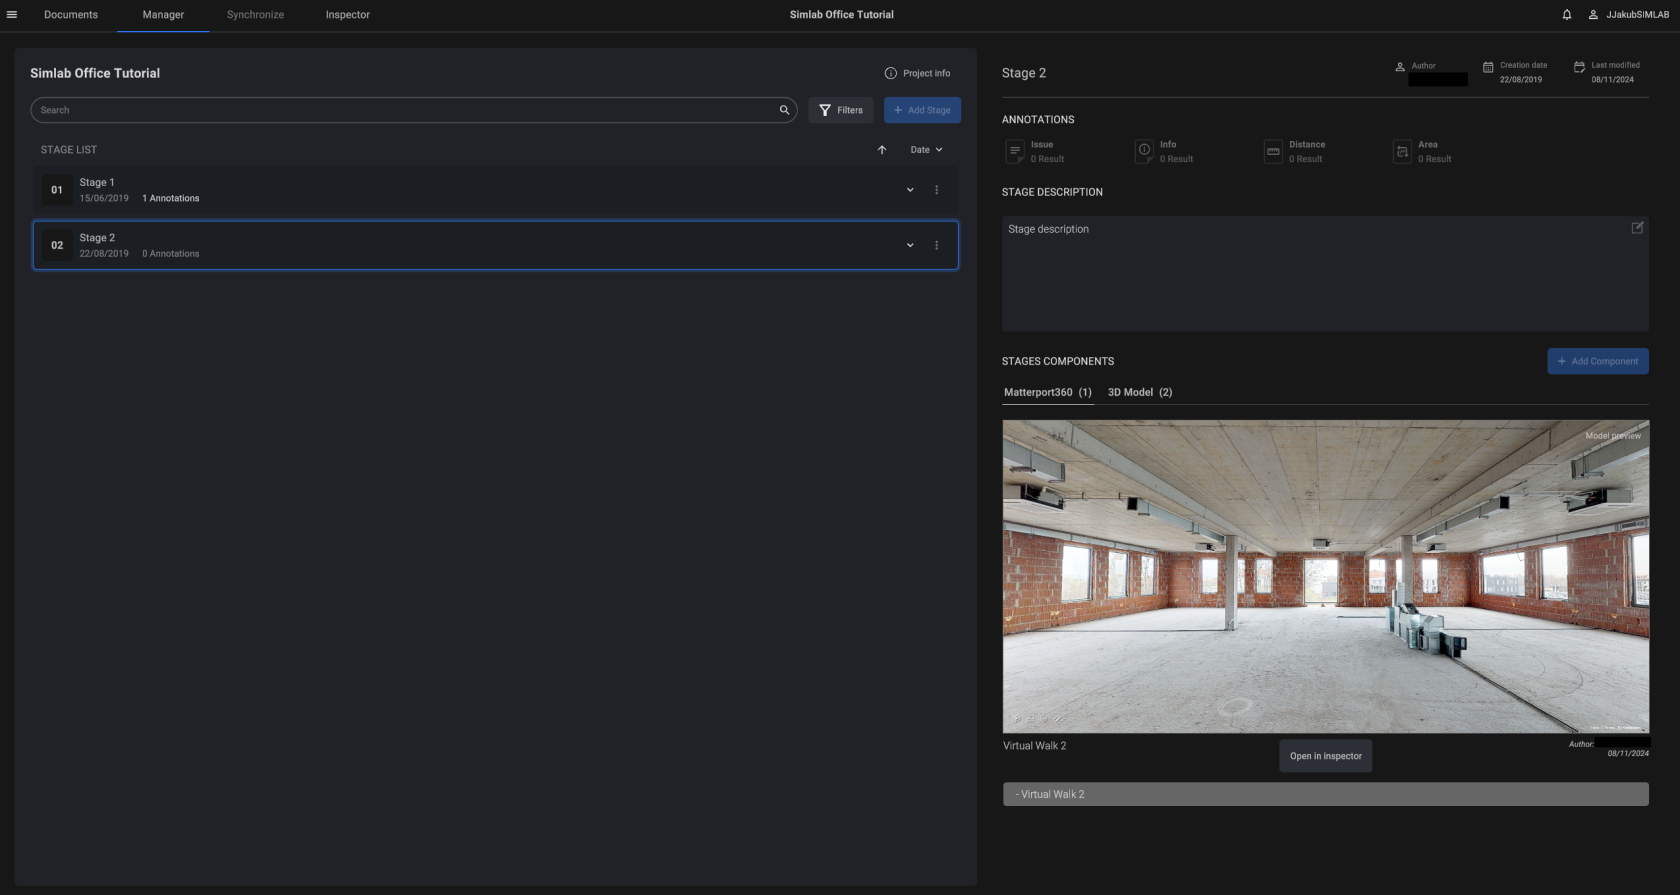
You've successfully created and populated two stages. Even though the stages now have components, they still need to be synchronized with each other for seamless transitions between them. We'll achieve this by following the steps in the next page.
