Next steps
Activities after synchronization.
Notes
|
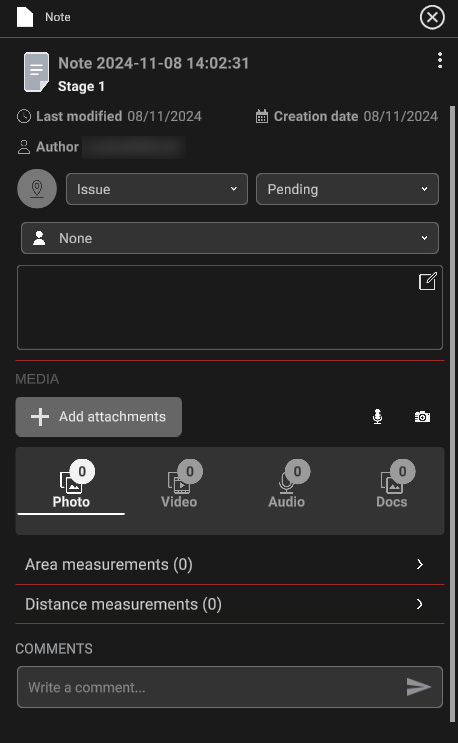
With a synchronized project, now we can setup notes within the virtual space.
Proper synchronization is necessary, so the notes stay in the same place between the views
Read Notes section in Documentation to learn more about the possibilities of the notes within Stages.
Populate the note information trying out different features then save it. |
 |
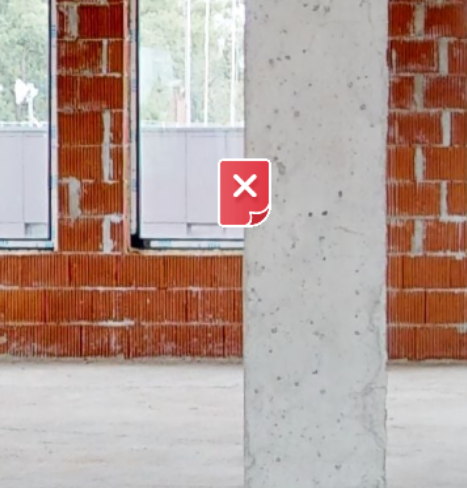
Placing a note within project space
|
In Stages you can stick the Note within 3D environment to the available planes: walls or floors as an example. Press the more options |
 |
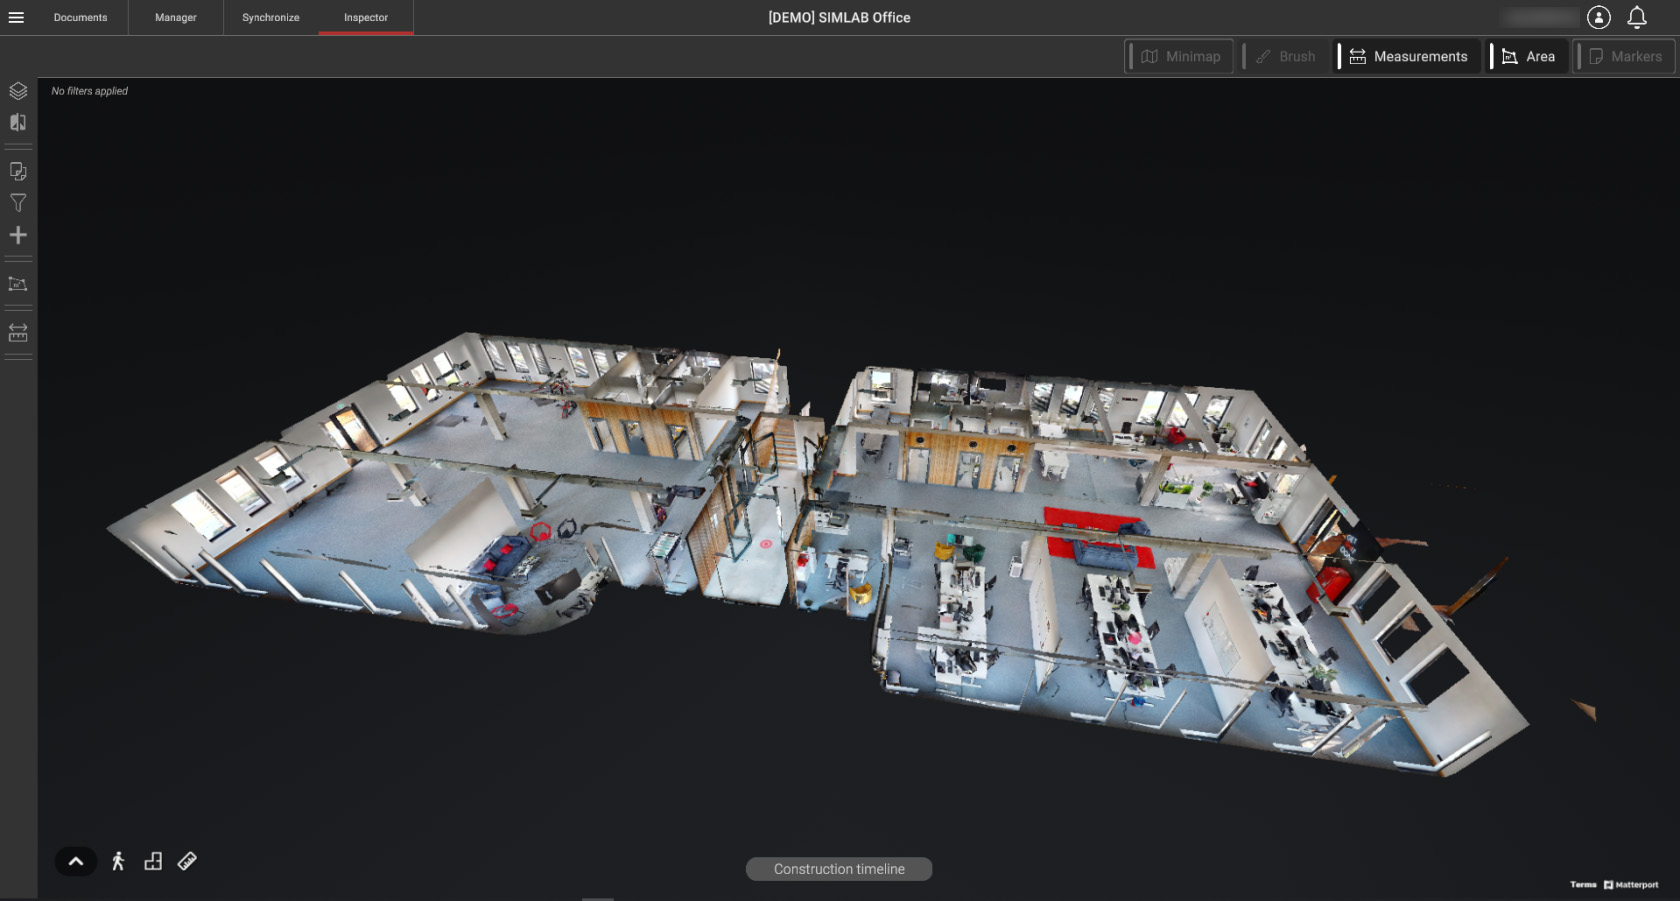
Note manager view

Congratulations! By completing this tutorial, you have learned how to setup projects with Stages. You can continue further with the training by completing optional steps.
Components (optional)
With the base set, you can easily add some additional components, like 2D images or custom 3D assets for visualization:
2D Plane
3D Assets
Use the Documents view to upload files directly into your project and manage them easier
Stage 3 (TEST)
Setup the 3rd stage entirely by yourself to test what you've learned so far.
License required, see Licenses & Subscriptions to learn how to purchase one
Stage 3 provided materials:
- Use the rest of the provided assets to complete the 3D view
Good habits
Some tips for healthy project handling
- Keep the naming throughout project(s) coherent
- Setup a folder hierarchy in documents view for your files within the project for easier management
- Add concise descriptions where able: (stages/notes etc.)
